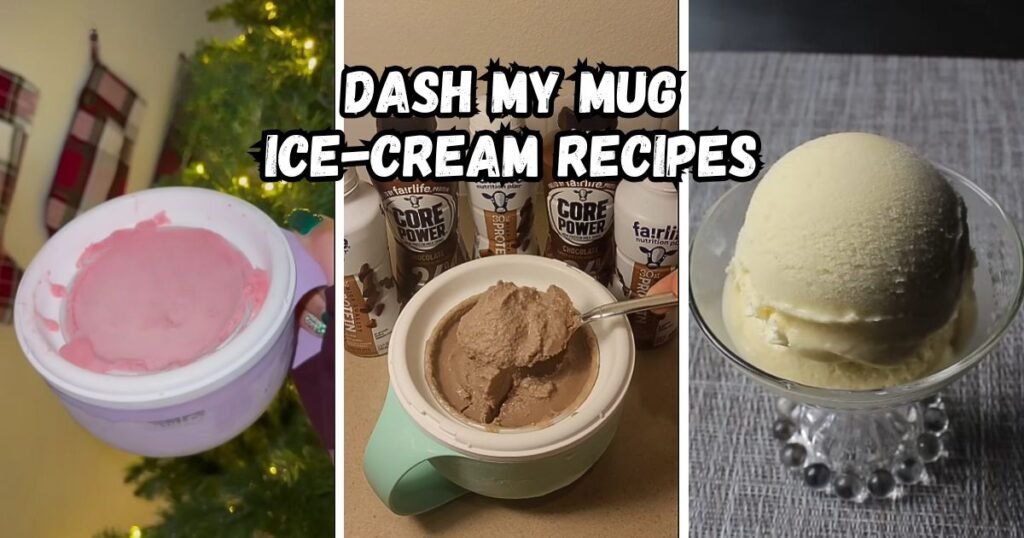
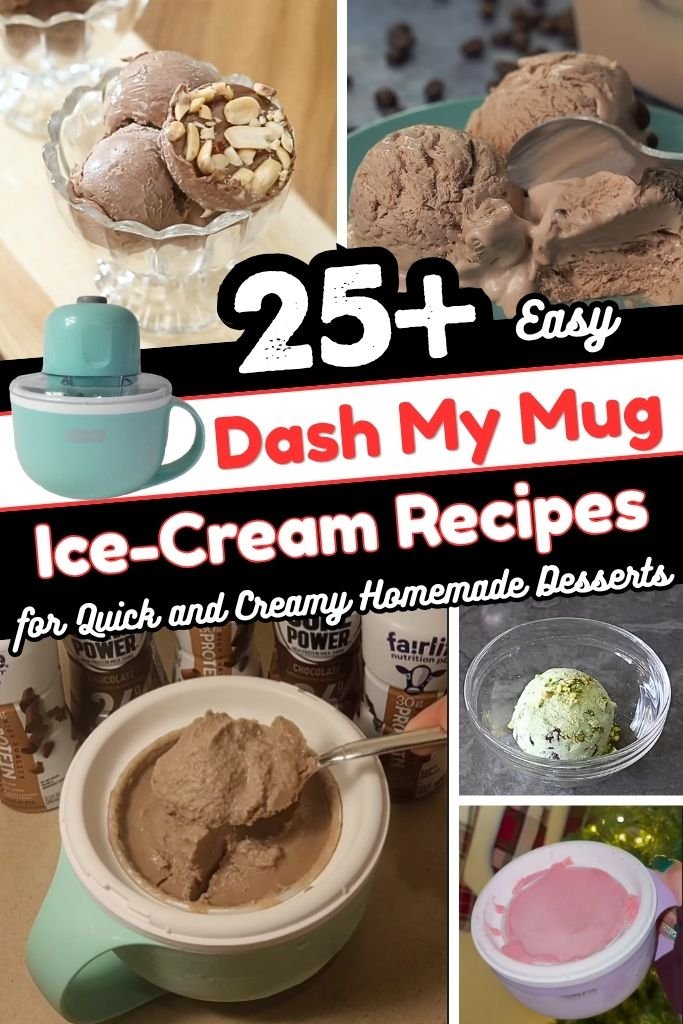
Creating simple desserts at home can feel hard, yet this guide shows a very easy way to enjoy sweet treats in minutes. Dash My Mug Ice-cream Recipes bring a quick and simple way to make ice cream right in a mug. No big tools, no long steps, just mix and chill.
Dash My Mug ice cream is a small, single-serve dessert made in a mug using basic items like milk, cream, and flavors.
This trend is growing fast because it is quick, no-churn, and great for beginners. Many people love how fast it comes together, with no machine needed.
There are many good points. Small portions help control sweets. Each mug can be made with your favorite flavors.
Only a few ingredients are needed, so it saves time and effort. This guide is great for students, busy people, and anyone who loves dessert but wants an easy way to make it at home.
What Makes Dash My Mug Ice Cream So Special?
Dash My Mug Ice Cream stands out because it turns a simple kitchen moment into a quick dessert treat without stress or complex steps. Everything happens in one mug, which makes the whole process smooth and easy to manage.
1. Single-Serve Convenience: Each mug is made for one person. No need to store extra ice cream or worry about leftovers. Every serving feels fresh and ready.
2. No Fancy Equipment Needed: No ice cream machine or special tools are required. A basic mug, spoon, and freezer are enough to make creamy results at home.
3. Fast Sweet Fix: Craving something sweet becomes simple to handle. A quick mix and freeze time bring a cold dessert ready in a short wait.
4. Simple Kitchen Cleanup: Only one mug is used for mixing and serving. Less washing, less mess, and more time to enjoy the dessert.
5. Easy for All Skill Levels: Beginners can follow it without confusion. Steps stay simple, clear, and easy to repeat for any flavor choice.
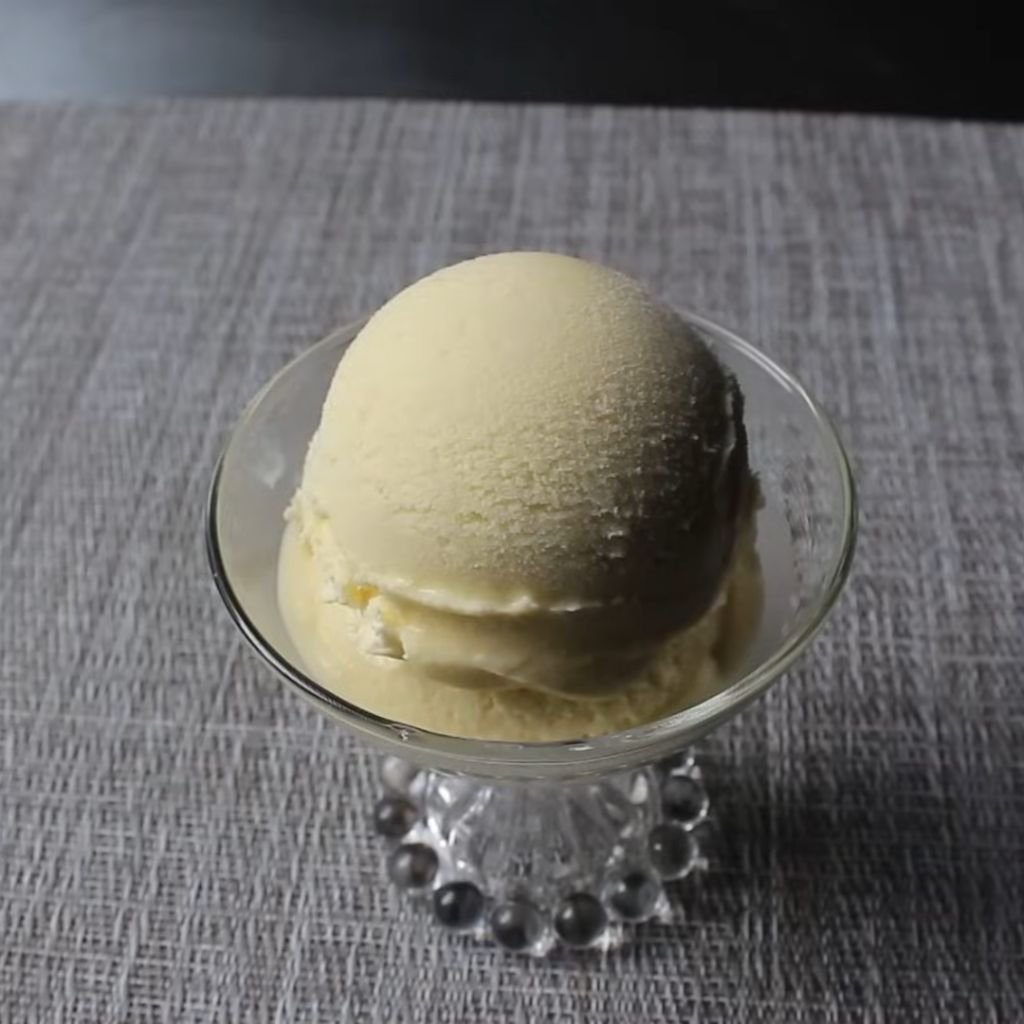
1. Classic Vanilla Mug Ice Cream
Prep Time: 5 mins | Churn Time: 2 hours freeze | Serve: 1
This simple vanilla mug ice cream is smooth and creamy. It uses basic kitchen items and gives a rich flavor that feels classic. It may seem hard to make ice cream at home, yet it’s actually very simple! This recipe brings a soft texture and sweet vanilla taste in every spoon.
Ingredients
- 1/2 cup heavy cream
- 2 tbsp milk
- 2 tbsp sugar
- 1/2 tsp vanilla extract
- Pinch of salt
Instructions
Start by choosing a clean, medium-sized mug. Make sure it has enough space for mixing without spilling. Pour the heavy cream into the mug first. Use a spoon or small whisk to stir it gently for about one minute. The goal is to slightly thicken the cream without turning it into whipped cream.
Next, add the milk slowly while stirring. This helps balance the texture so the ice cream stays soft after freezing. Add sugar into the mixture. Stir well until the sugar fully melts. This step is very important, as undissolved sugar can make the texture grainy.
Now pour in the vanilla extract. Mix again until the flavor spreads evenly. Add a small pinch of salt. This tiny amount helps bring out the sweetness and gives a better taste.
Keep stirring the mixture for another two to three minutes. The texture should look smooth and slightly thick. Take time here, as proper mixing helps the final result.
Once mixed, cover the mug with plastic wrap or a small plate. Place it carefully into the freezer. Let it freeze for about two hours. During freezing, check once and stir gently after one hour. This breaks ice crystals and keeps the texture creamy.
After two hours, remove the mug from the freezer. Let it sit for two minutes before eating. This softens the ice cream slightly and makes scooping easier.
Use a spoon to enjoy it straight from the mug. The result is a soft, creamy vanilla ice cream that feels fresh and homemade. Add toppings like sprinkles or fruit for extra flavor.
2. Rich Chocolate Mug Ice Cream
Prep Time: 5 mins | Churn Time: 2 hours freeze | Serve: 1
This rich chocolate mug ice cream is deep in flavor and smooth in texture. It is perfect for chocolate lovers who want a quick dessert. It may look tricky at first, yet it’s actually very easy to prepare at home!
Ingredients
- 1/2 cup heavy cream
- 2 tbsp milk
- 2 tbsp sugar
- 1 tbsp cocoa powder
- 1/4 tsp vanilla extract
- Pinch of salt
Instructions
Begin with a clean mug that holds at least one cup. Add heavy cream into the mug. Stir it slowly using a spoon. Mix for about one minute until it starts to thicken slightly. Do not overmix, as it should stay smooth, not fluffy.
Add milk into the mug. Stir again to blend both liquids well. This step keeps the ice cream soft and easy to scoop later.
Now add sugar and cocoa powder together. Mixing them at the same time helps avoid lumps. Stir slowly at first, then increase speed to fully dissolve the sugar and cocoa. Keep mixing until the color looks even and rich brown.
Add vanilla extract and a small pinch of salt. These bring balance to the chocolate flavor. Stir again for two minutes. Make sure the mixture looks smooth with no dry spots.
Continue mixing for another minute. The texture should be slightly thick but still pourable. This shows the mixture is ready for freezing.
Cover the mug with plastic wrap or a lid. Place it in the freezer on a flat surface. Let it freeze for about two hours. After one hour, take it out and stir gently. This helps avoid ice crystals and keeps the texture creamy.
Return the mug to the freezer and let it finish freezing. Once ready, take it out and let it sit for two minutes before eating.
Scoop with a spoon and enjoy a rich chocolate flavor. Add chocolate chips or syrup on top for extra taste.
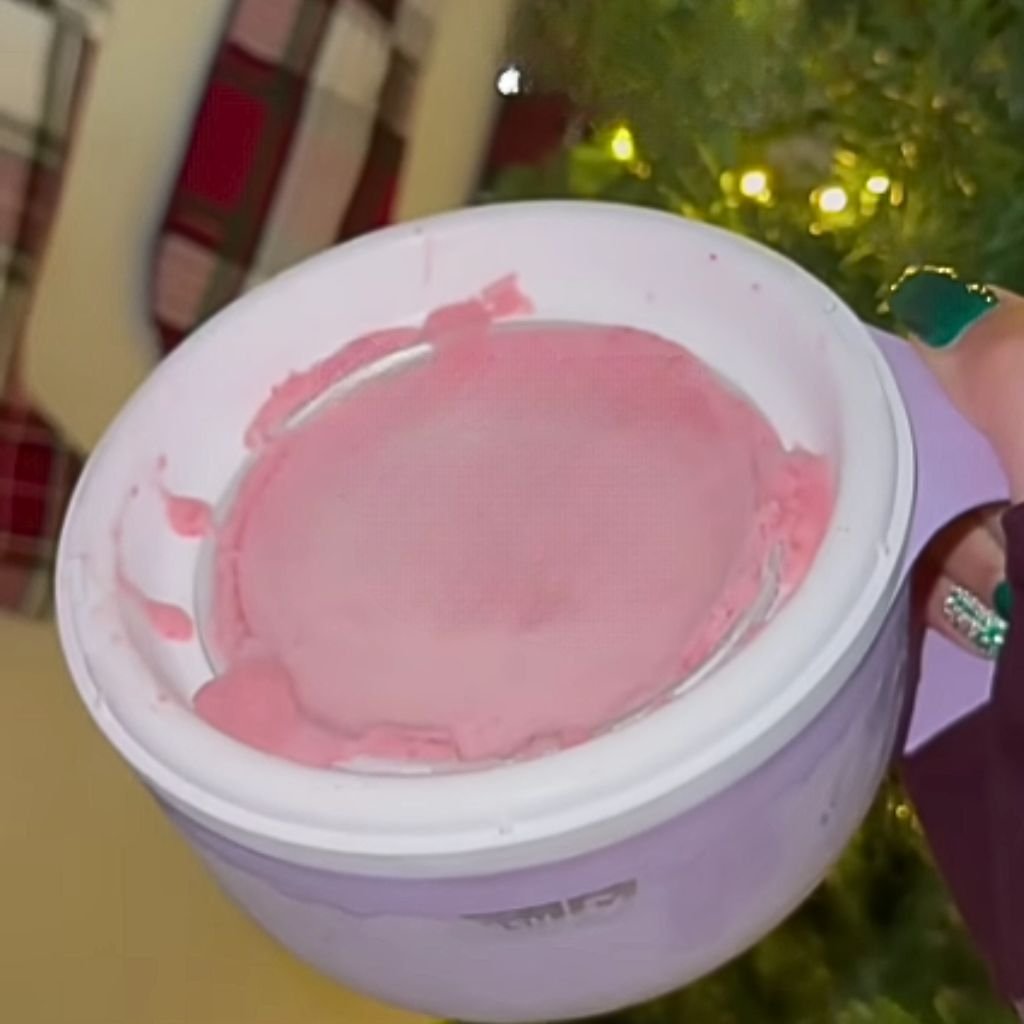
3. Strawberry Cream Mug Ice Cream
Prep Time: 5 mins | Churn Time: 2 hours freeze | Serve: 1
Fresh and light flavor makes this strawberry cream mug ice cream a great pick for warm days. Sweet berries mix with creamy texture for a smooth dessert. It may seem a bit tricky to get the right texture, yet it’s actually very simple with slow mixing and proper chilling.
Ingredients
- 1/2 cup heavy cream
- 2 tbsp milk
- 2 tbsp sugar
- 3 tbsp mashed strawberries (fresh or frozen)
- 1/4 tsp vanilla extract
Instructions
Take a clean mug with enough space for mixing. Add the heavy cream first. Stir slowly using a spoon for about one minute. The cream should become a bit thick but still smooth. Avoid fast mixing at this stage to keep the texture right.
Pour in the milk and continue stirring. This helps balance the cream and keeps the ice cream soft after freezing. Add sugar into the mug and mix well. Keep stirring until the sugar melts fully into the liquid. This step helps avoid grainy texture later.
Now add mashed strawberries. Make sure the berries are soft and smooth before adding. Stir gently at first so the fruit blends well with the cream. Increase speed slightly and mix for another two minutes. The color should turn light pink and look even.
Add vanilla extract and stir again. This adds a soft sweet note that works well with the fruit. Keep mixing for one more minute to make sure everything is combined well.
Check the texture. It should look creamy and slightly thick. Once ready, cover the mug with plastic wrap or a lid. Place it in the freezer on a flat surface.
After one hour, take the mug out and stir gently. This breaks any ice crystals and keeps the texture smooth. Return it to the freezer and let it freeze for another hour.
When ready, remove from the freezer and let it rest for two minutes. This makes scooping easier. Use a spoon and enjoy straight from the mug. Add fresh strawberry slices on top for extra flavor.
4. Butterscotch Delight Mug Ice Cream
Prep Time: 5 mins | Churn Time: 2 hours freeze | Serve: 1
Sweet and rich flavor gives this butterscotch mug ice cream a smooth and creamy feel. Warm caramel notes blend well with the base. It may look hard to make at home, yet it’s actually very simple with a few easy steps.
Ingredients
- 1/2 cup heavy cream
- 2 tbsp milk
- 2 tbsp sugar
- 2 tbsp butterscotch sauce
- Pinch of salt
Instructions
Start with a clean mug. Add heavy cream into it and stir gently for about one minute. The cream should slightly thicken but remain smooth. Take time here to avoid overmixing.
Add milk slowly while stirring. This keeps the mixture balanced and helps create a soft texture after freezing. Now add sugar and mix well. Stir until the sugar fully dissolves into the liquid.
Pour in the butterscotch sauce. Stir slowly at first so it blends evenly. Then mix faster for about two minutes until the color becomes smooth and light brown. Make sure there are no thick streaks left.
Add a pinch of salt. This small amount enhances the sweetness and balances the flavor. Stir again for one minute.
Keep mixing until the texture looks creamy and slightly thick. This step helps the ice cream freeze evenly later. Once done, cover the mug with plastic wrap or a lid.
Place the mug in the freezer. After one hour, take it out and stir gently. This helps avoid ice crystals and keeps the ice cream smooth. Put it back into the freezer for another hour.
Once fully frozen, remove the mug and let it sit for two minutes. This softens it slightly for easy scooping.
Serve straight from the mug. Add extra butterscotch sauce on top for more flavor. Each spoon gives a smooth and rich taste.
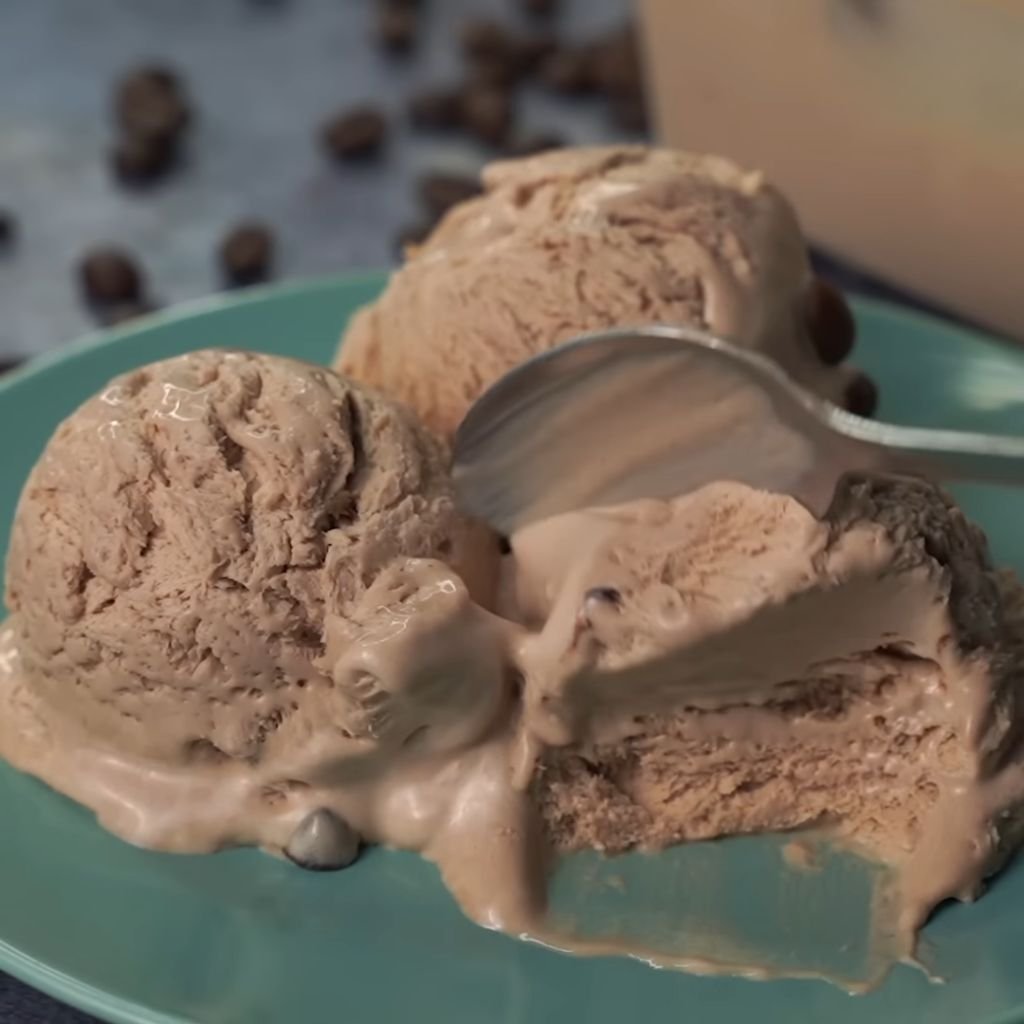
5. Coffee Lovers Mug Ice Cream
Prep Time: 5 mins | Churn Time: 2 hours freeze | Serve: 1
Bold coffee flavor blends with a creamy base for a smooth dessert. Great for anyone who enjoys a mild coffee kick after meals. It may look hard to balance flavor and texture, yet it’s actually very simple with steady mixing and the right amount of coffee.
Ingredients
- 1/2 cup heavy cream
- 2 tbsp milk
- 2 tbsp sugar
- 1 tsp instant coffee powder
- 1/4 tsp vanilla extract
Instructions
Pick a clean mug with enough room for mixing. Add heavy cream first. Stir slowly for about one minute until it thickens slightly. Keep the motion gentle so the cream stays smooth and not too airy.
Add milk into the mug. Stir again to blend both liquids. This step helps the ice cream stay soft after freezing. Now add sugar and mix well. Keep stirring until the sugar melts fully into the mixture.
Take the instant coffee powder and add it to the mug. Stir slowly at first so the powder dissolves well. Then mix faster for about two minutes. The mixture should turn light brown with a smooth texture. Make sure no coffee granules remain.
Add vanilla extract and stir again. This gives a balanced flavor and soft sweetness. Continue mixing for another minute. The mixture should look creamy and slightly thick.
Cover the mug with plastic wrap or a lid. Place it in the freezer on a flat surface. After one hour, take it out and stir gently. This helps prevent ice crystals and keeps the texture smooth.
Return the mug to the freezer and let it chill for another hour. Once ready, take it out and let it sit for two minutes before serving.
Use a spoon to enjoy directly from the mug. A light sprinkle of cocoa powder on top can add extra flavor.
6. Double Chocolate Chip Mug Ice Cream
Prep Time: 5 mins | Churn Time: 2 hours freeze | Serve: 1
Rich chocolate base with small chocolate chips gives a deep and creamy bite. Every spoon has a mix of smooth ice cream and tiny crunchy bits. It may seem like getting the right texture is hard, yet it’s actually very simple with careful mixing.
Ingredients
- 1/2 cup heavy cream
- 2 tbsp milk
- 2 tbsp sugar
- 1 tbsp cocoa powder
- 2 tbsp chocolate chips
- 1/4 tsp vanilla extract
Instructions
Start with a clean mug. Pour in the heavy cream and stir gently for one minute. The cream should thicken slightly but remain smooth. Avoid fast mixing at this stage.
Add milk and stir again. This keeps the base balanced and easy to scoop later. Add sugar and cocoa powder together. Mix slowly first to avoid lumps, then stir faster until the mixture turns smooth and even in color.
Add vanilla extract and mix well. Continue stirring for another minute until the mixture looks creamy and slightly thick. Take time to make sure there are no dry cocoa spots.
Now add chocolate chips. Stir gently so they spread evenly in the mixture. Do not overmix at this stage, as the chips should stay whole.
Cover the mug with plastic wrap or a lid. Place it in the freezer. After one hour, remove the mug and stir gently. This helps keep the texture smooth and prevents ice crystals.
Return the mug to the freezer and let it chill for another hour. Once done, take it out and let it rest for two minutes.
Serve straight from the mug. Each spoon gives a mix of creamy chocolate and small crunchy bites from the chips.
7. Nutella Mug Ice Cream
Prep Time: 5 mins | Churn Time: 2 hours freeze | Serve: 1
Creamy hazelnut flavor blends into a smooth base for a rich dessert. Nutella adds a sweet and nutty taste that feels comforting. It may seem hard to mix evenly, yet it’s actually very simple with slow stirring and a steady method.
Ingredients
- 1/2 cup heavy cream
- 2 tbsp milk
- 2 tbsp Nutella
- 1 tbsp sugar
- Pinch of salt
Instructions
Use a clean mug with enough space for mixing. Add heavy cream first. Stir slowly for about one minute until it thickens slightly. Keep the motion gentle so the cream stays smooth and soft.
Pour in the milk and mix again. This step keeps the texture light and easy to scoop after freezing. Add sugar and stir well until it fully dissolves into the mixture.
Now add Nutella. Stir slowly at first so it blends with the cream. Once it starts to mix in, increase speed and stir for about two minutes. The mixture should turn smooth and light brown with no thick streaks.
Add a small pinch of salt. This helps balance the sweetness and brings out the flavor. Stir again for one minute.
Check the texture. It should look creamy and slightly thick. Cover the mug with plastic wrap or a lid. Place it in the freezer on a flat surface.
After one hour, take the mug out and stir gently. This helps avoid ice crystals and keeps the ice cream smooth. Return it to the freezer for another hour.
Once fully frozen, remove the mug and let it rest for two minutes. Scoop and enjoy directly from the mug. Add extra Nutella on top for a richer taste.
8. Oreo Cookies & Cream Mug Ice Cream
Prep Time: 5 mins | Churn Time: 2 hours freeze | Serve: 1
Crushed cookies mixed into a creamy base give a soft and crunchy texture in every bite. Oreo pieces add a sweet and familiar flavor. It may look tricky to mix cookies evenly, yet it’s actually very simple with gentle folding.
Ingredients
- 1/2 cup heavy cream
- 2 tbsp milk
- 2 tbsp sugar
- 3 Oreo cookies (crushed)
- 1/4 tsp vanilla extract
Instructions
Start with a clean mug. Add heavy cream and stir gently for one minute. The cream should thicken slightly but still remain smooth. Avoid overmixing to keep the right texture.
Add milk into the mug and stir again. This step keeps the mixture balanced and soft after freezing. Add sugar and mix well until it fully dissolves.
Pour in vanilla extract and stir for another minute. This adds a soft sweetness that works well with cookies. The mixture should look smooth and creamy.
Take the crushed Oreo cookies and add them into the mug. Stir gently so the cookie pieces spread evenly. Do not crush them too fine, as small chunks give a better texture.
Continue mixing slowly for one more minute. Make sure the cookies are well spread but not fully broken down.
Cover the mug with plastic wrap or a lid. Place it in the freezer. After one hour, remove the mug and stir gently. This helps keep the ice cream smooth and prevents ice crystals.
Return it to the freezer for another hour. Once ready, take it out and let it sit for two minutes. Serve straight from the mug. Each spoon gives creamy ice cream with soft cookie bits for a nice texture.
9. Brownie Batter Mug Ice Cream
Prep Time: 5 mins | Churn Time: 2 hours freeze | Serve: 1
Soft brownie flavor mixed into a creamy base gives a rich and smooth dessert. Each spoon feels like chilled brownie batter with a light texture. It may seem tricky to get that deep taste, yet it’s actually very simple with steady mixing.
Ingredients
- 1/2 cup heavy cream
- 2 tbsp milk
- 2 tbsp sugar
- 1 tbsp cocoa powder
- 2 tbsp brownie mix (dry)
- 1/4 tsp vanilla extract
Instructions
Take a clean mug and add the heavy cream. Stir gently for about one minute until it thickens slightly. Keep the motion slow so the cream stays smooth and not too airy.
Add milk and mix again. This helps keep the texture soft after freezing. Add sugar and cocoa powder together. Stir slowly at first, then mix faster until everything blends well and looks smooth.
Now add the dry brownie mix. Stir gently so it mixes evenly with the cream base. Make sure no dry spots remain. Continue mixing for about two minutes. The mixture should look thick and creamy with a deep brown color.
Add vanilla extract and stir again for one minute. This brings a soft sweetness to the mixture. Check the texture. It should be smooth and slightly thick.
Cover the mug with plastic wrap or a lid. Place it in the freezer. After one hour, take it out and stir gently to break any ice crystals.
Return the mug to the freezer for another hour. Once ready, remove and let it rest for two minutes before serving. Enjoy straight from the mug. A few chocolate chips on top can add extra texture.
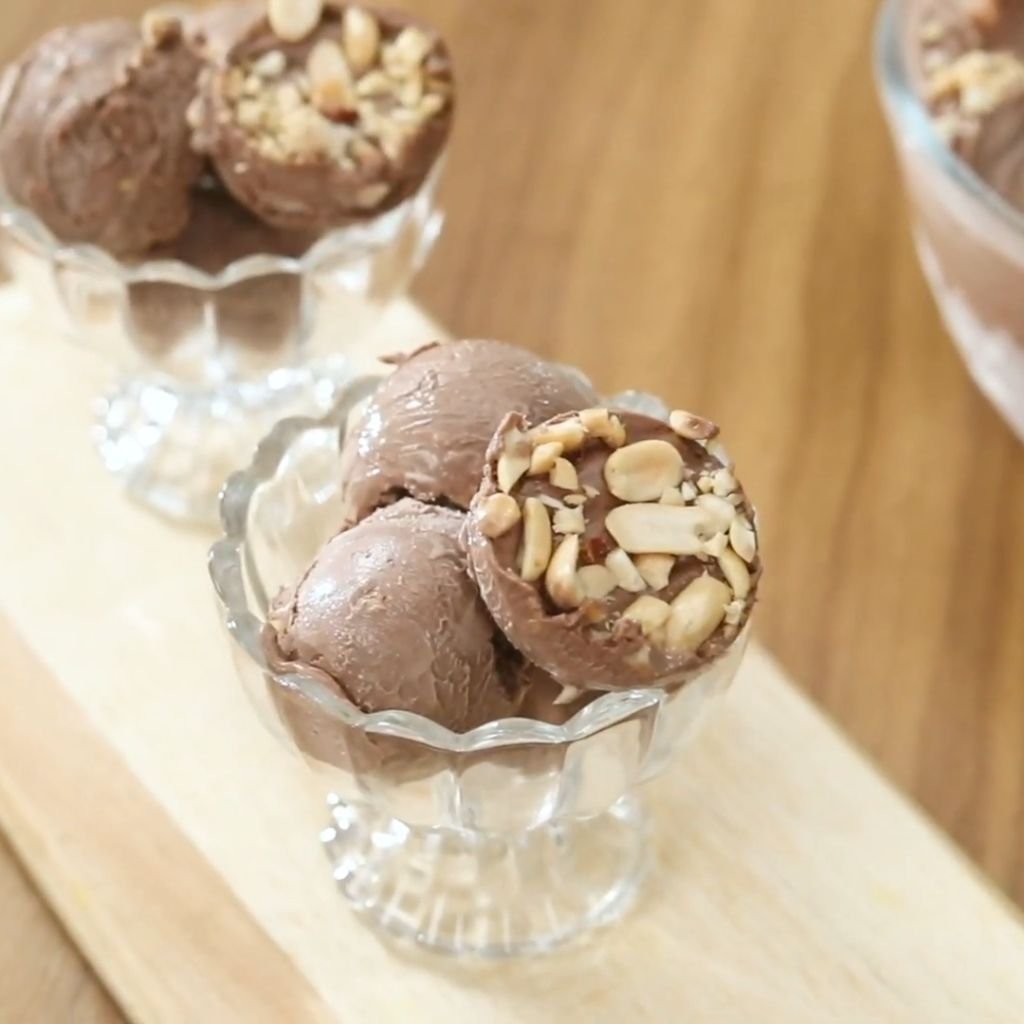
10. Chocolate Peanut Butter Mug Ice Cream
Prep Time: 5 mins | Churn Time: 2 hours freeze | Serve: 1
Chocolate and peanut butter create a rich and creamy mix with a smooth finish. Each bite has a balance of sweet and nutty flavor. It may look hard to combine both tastes evenly, yet it’s actually very simple with careful mixing.
Ingredients
- 1/2 cup heavy cream
- 2 tbsp milk
- 2 tbsp sugar
- 1 tbsp cocoa powder
- 1 tbsp peanut butter
- 1/4 tsp vanilla extract
Instructions
Start with a clean mug. Add heavy cream and stir gently for about one minute. The cream should thicken slightly while staying smooth.
Pour in the milk and mix again. This step keeps the texture soft and creamy after freezing. Add sugar and cocoa powder. Stir slowly first to avoid lumps, then mix faster until smooth.
Add peanut butter into the mug. Stir slowly so it blends with the chocolate base. Once it starts to mix in, increase speed and stir for two minutes. The mixture should look creamy with a rich brown color.
Add vanilla extract and mix again for one minute. Check the texture. It should be smooth and slightly thick with no streaks.
Cover the mug with plastic wrap or a lid. Place it in the freezer on a flat surface. After one hour, take it out and stir gently to keep the texture soft.
Return to the freezer for another hour. Once fully frozen, remove and let it sit for two minutes. Serve straight from the mug. Add a small drizzle of peanut butter on top for extra flavor.
11. Mango Mug Ice Cream
Prep Time: 5 mins | Churn Time: 2 hours freeze | Serve: 1
Sweet mango flavor blends into a creamy base for a fresh and smooth dessert. Bright fruit taste makes it perfect for warm days. It may seem hard to keep the fruit texture smooth, yet it’s actually very simple with well-mashed mango and steady mixing.
Ingredients
- 1/2 cup heavy cream
- 2 tbsp milk
- 2 tbsp sugar
- 3 tbsp mango puree
- Pinch of salt
Instructions
Take a clean mug and pour in the heavy cream. Stir slowly for about one minute until it thickens slightly. Keep the motion gentle so the cream stays smooth.
Add milk and mix again. This helps keep the ice cream soft after freezing. Add sugar and stir well until it fully dissolves into the mixture.
Now add mango puree. Make sure the puree is smooth before adding. Stir gently at first, then mix faster for about two minutes. The mixture should turn a light yellow color and look even.
Add a pinch of salt and stir again. This helps balance the sweetness and brings out the mango flavor.
Check the texture. It should be creamy and slightly thick. Cover the mug with plastic wrap or a lid. Place it in the freezer on a flat surface.
After one hour, take it out and stir gently. This helps prevent ice crystals and keeps the texture smooth. Return it to the freezer for another hour.
Once ready, remove from the freezer and let it sit for two minutes. Scoop and enjoy directly from the mug. Add small mango pieces on top for extra flavor.
12. Banana Honey Mug Ice Cream
Prep Time: 5 mins | Churn Time: 2 hours freeze | Serve: 1
Soft banana flavor mixed with honey creates a naturally sweet and creamy dessert. Smooth texture makes every spoon gentle and rich. It may seem tricky to balance sweetness, yet it’s actually very simple with ripe banana and careful mixing.
Ingredients
- 1/2 cup heavy cream
- 2 tbsp milk
- 1 tbsp sugar
- 3 tbsp mashed banana
- 1 tbsp honey
Instructions
Start with a clean mug. Add heavy cream and stir gently for about one minute until it thickens slightly. Keep the motion slow to maintain a smooth texture.
Pour in the milk and mix again. This step keeps the ice cream soft after freezing. Add sugar and stir until it fully dissolves.
Add mashed banana into the mug. Make sure the banana is smooth with no large chunks. Stir gently so it blends evenly with the cream. Then mix for another two minutes until the texture looks smooth.
Now add honey. Stir slowly at first, then mix well until it spreads evenly through the mixture. The color should turn light cream with a soft banana tone.
Check the texture. It should be creamy and slightly thick. Cover the mug with plastic wrap or a lid.
Place the mug in the freezer. After one hour, take it out and stir gently to keep the texture smooth. Return it to the freezer for another hour.
Once fully frozen, remove and let it rest for two minutes. Serve straight from the mug. Add a drizzle of honey on top for extra sweetness.
13. Blueberry Mug Ice Cream
Prep Time: 5 mins | Churn Time: 2 hours freeze | Serve: 1
Soft blueberry flavor mixes into a creamy base for a light and smooth dessert. Gentle fruit taste adds a fresh feel in every spoon. It may seem tricky to blend berries well, yet it’s actually very simple with slow mixing and smooth puree.
Ingredients
- 1/2 cup heavy cream
- 2 tbsp milk
- 2 tbsp sugar
- 3 tbsp blueberry puree
- 1/4 tsp vanilla extract
Instructions
Pick a clean mug and add heavy cream. Stir slowly for about one minute until it thickens slightly. Keep the motion gentle so the cream stays smooth and not too airy.
Add milk into the mug and mix again. This helps keep the ice cream soft after freezing. Add sugar and stir well until it fully dissolves into the liquid.
Now add blueberry puree. Make sure the puree is smooth with no large skins. Stir slowly at first so it blends well. Then mix faster for about two minutes until the color looks even and light purple.
Add vanilla extract and stir again for one minute. This brings a soft sweetness that works well with the fruit.
Check the texture. It should look creamy and slightly thick. Cover the mug with plastic wrap or a lid. Place it in the freezer on a flat surface.
After one hour, remove the mug and stir gently. This step helps break ice crystals and keeps the texture smooth. Return it to the freezer for another hour.
Once ready, take it out and let it sit for two minutes. Scoop and enjoy directly from the mug. Add a few fresh blueberries on top for extra flavor.
14. Pineapple Coconut Mug Ice Cream
Prep Time: 5 mins | Churn Time: 2 hours freeze | Serve: 1
Tropical pineapple and coconut blend into a creamy and smooth dessert. Light sweetness and soft texture make it refreshing. It may seem hard to balance both flavors, yet it’s actually very simple with even mixing and good fruit prep.
Ingredients
- 1/2 cup heavy cream
- 2 tbsp coconut milk
- 2 tbsp sugar
- 3 tbsp crushed pineapple
- 1 tbsp shredded coconut
Instructions
Take a clean mug and pour in the heavy cream. Stir gently for about one minute until it thickens slightly. Keep the motion slow to maintain a smooth texture.
Add coconut milk and mix again. This gives a soft coconut flavor and keeps the ice cream creamy. Add sugar and stir well until it dissolves fully.
Now add crushed pineapple. Make sure the pieces are small and soft. Stir gently so the fruit spreads evenly. Then mix for two minutes until the texture looks smooth.
Add shredded coconut and stir lightly. This adds a slight texture to the ice cream. Do not overmix at this stage.
Check the mixture. It should look creamy and slightly thick. Cover the mug with plastic wrap or a lid.
Place the mug in the freezer. After one hour, take it out and stir gently to prevent ice crystals. Return it to the freezer for another hour.
Once frozen, remove and let it sit for two minutes. Serve straight from the mug. Add a little coconut on top for extra flavor.
15. Mixed Berry Mug Ice Cream
Prep Time: 5 mins | Churn Time: 2 hours freeze | Serve: 1
A blend of berries gives a bright color and soft fruit flavor in every bite. Creamy base pairs well with sweet and slightly tangy notes. It may seem tricky to mix different fruits evenly, yet it’s actually very simple with smooth berry mash and steady stirring.
Ingredients
- 1/2 cup heavy cream
- 2 tbsp milk
- 2 tbsp sugar
- 3 tbsp mixed berry puree (strawberry, blueberry, raspberry)
- 1/4 tsp vanilla extract
Instructions
Use a clean mug with enough space for mixing. Add heavy cream first and stir gently for about one minute until it thickens slightly. Keep the motion slow so the texture stays smooth.
Pour in the milk and mix again. This helps keep the ice cream soft after freezing. Add sugar and stir well until it dissolves fully into the mixture.
Now add mixed berry puree. Make sure the puree is smooth with no large seeds or chunks. Stir slowly at first, then mix faster for about two minutes. The mixture should turn a soft purple-pink color and look even.
Add vanilla extract and stir again for one minute. This gives a balanced sweetness to the fruit mix.
Check the texture. It should be creamy and slightly thick. Cover the mug with plastic wrap or a lid. Place it in the freezer.
After one hour, remove the mug and stir gently. This helps prevent ice crystals and keeps the texture smooth. Return it to the freezer for another hour.
Once ready, take it out and let it sit for two minutes. Scoop and enjoy straight from the mug. Add fresh berries on top for extra color and flavor.
16. Almond Crunch Mug Ice Cream
Prep Time: 5 mins | Churn Time: 2 hours freeze | Serve: 1
Crunchy almonds mixed into a creamy base create a rich and nutty dessert. Smooth texture with small crunchy bits makes each bite interesting. It may seem hard to keep the crunch after freezing, yet it’s actually very simple with gentle mixing.
Ingredients
- 1/2 cup heavy cream
- 2 tbsp milk
- 2 tbsp sugar
- 2 tbsp chopped almonds
- 1/4 tsp almond extract
Instructions
Start with a clean mug. Add heavy cream and stir gently for about one minute until it thickens slightly. Keep the motion slow to maintain a smooth texture.
Add milk into the mug and mix again. This step helps keep the ice cream soft after freezing. Add sugar and stir until it fully dissolves into the mixture.
Pour in almond extract and stir for another minute. This adds a deep nutty flavor to the base.
Now add chopped almonds. Stir gently so the pieces spread evenly through the mixture. Avoid overmixing, as the crunch should stay intact.
Continue mixing slowly for one more minute. The texture should look creamy and slightly thick.
Cover the mug with plastic wrap or a lid. Place it in the freezer on a flat surface. After one hour, take it out and stir gently. This helps prevent ice crystals and keeps the texture smooth.
Return the mug to the freezer for another hour. Once fully frozen, remove and let it sit for two minutes.
Serve straight from the mug. Add a few extra almond pieces on top for more crunch.
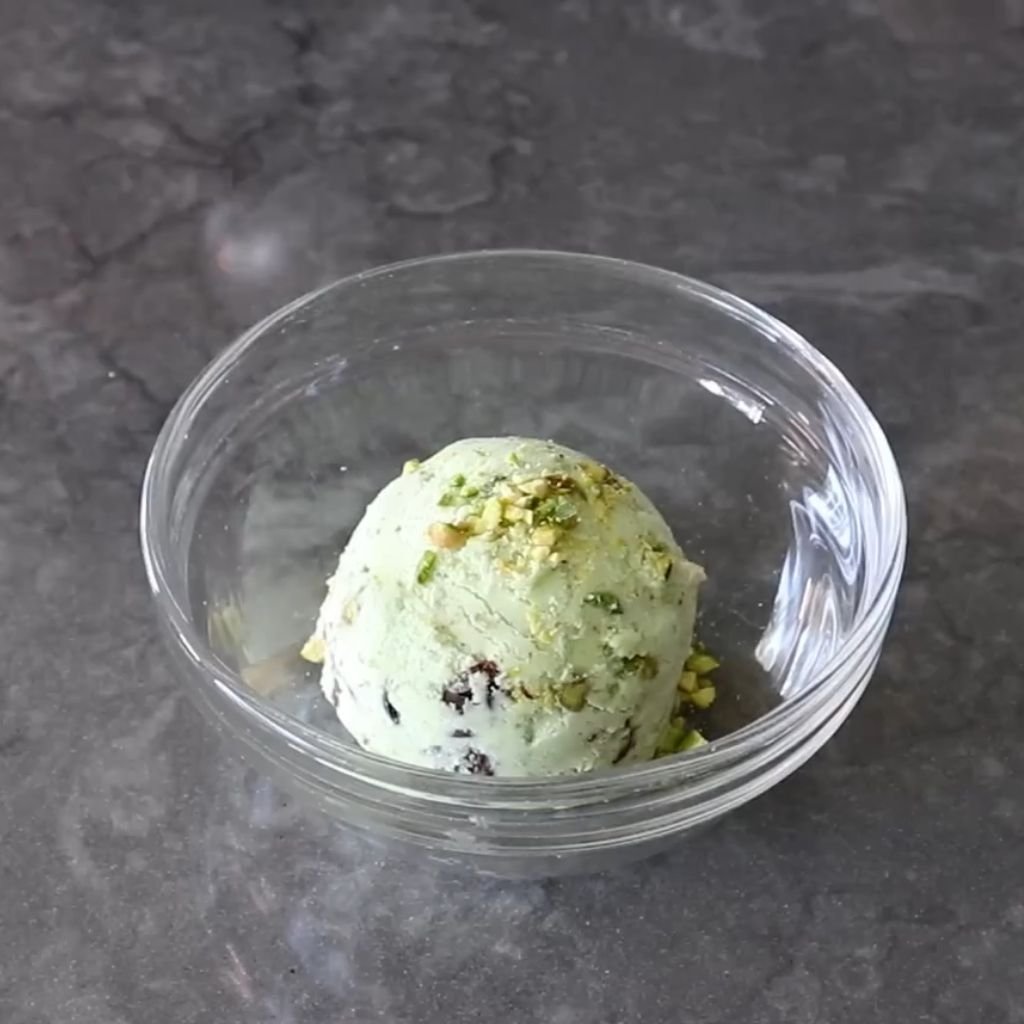
17. Pistachio Mug Ice Cream
Prep Time: 5 mins | Churn Time: 2 hours freeze | Serve: 1
Pistachio flavor brings a light nutty taste with a creamy base. Soft green color and rich texture make it simple yet special. It may seem hard to get real pistachio flavor at home, yet it’s actually very simple with smooth paste and steady mixing.
Ingredients
- 1/2 cup heavy cream
- 2 tbsp milk
- 2 tbsp sugar
- 2 tbsp pistachio paste (or finely ground pistachios)
- 1/4 tsp vanilla extract
Instructions
Take a clean mug and add heavy cream. Stir slowly for about one minute until it thickens slightly. Keep the motion gentle so the cream stays smooth.
Pour in milk and mix again. This helps keep the texture soft after freezing. Add sugar and stir until it fully dissolves into the mixture.
Now add pistachio paste. Stir slowly at first so it blends into the cream base. Once it starts mixing, increase speed and stir for about two minutes. The color should turn light green and look even.
Add vanilla extract and mix again for one minute. This helps balance the nutty taste with a soft sweet note.
Check the texture. It should be creamy and slightly thick. Cover the mug with plastic wrap or a lid and place it in the freezer.
After one hour, take it out and stir gently. This step helps prevent ice crystals and keeps the texture smooth. Return it to the freezer for another hour.
Once ready, remove and let it sit for two minutes. Scoop and enjoy straight from the mug. Add crushed pistachios on top for extra crunch.
18. Cashew Caramel Mug Ice Cream
Prep Time: 5 mins | Churn Time: 2 hours freeze | Serve: 1
Cashew and caramel create a smooth, rich dessert with a sweet nutty taste. Creamy base blends with caramel for a soft texture. It may seem tricky to mix caramel evenly, yet it’s actually very simple with slow stirring.
Ingredients
- 1/2 cup heavy cream
- 2 tbsp milk
- 2 tbsp sugar
- 2 tbsp caramel sauce
- 2 tbsp chopped cashews
- Pinch of salt
Instructions
Start with a clean mug. Add heavy cream and stir gently for about one minute until it thickens slightly. Keep the motion slow so the texture stays smooth.
Add milk and mix again. This keeps the ice cream soft after freezing. Add sugar and stir until it fully dissolves.
Now pour in caramel sauce. Stir slowly at first so it blends evenly. Then mix faster for about two minutes until the color becomes light golden and smooth.
Add chopped cashews and stir gently so they spread through the mixture. Do not overmix, as the crunch should stay visible.
Add a pinch of salt and stir again. This enhances the caramel sweetness and balances the flavor.
Check the texture. It should be creamy and slightly thick. Cover the mug and place it in the freezer.
After one hour, remove and stir gently to break ice crystals. Return to the freezer for another hour.
Once frozen, let it rest for two minutes. Serve straight from the mug. Add extra caramel drizzle and cashews on top for more flavor.
19. Cotton Candy Mug Ice Cream
Prep Time: 5 mins | Churn Time: 2 hours freeze | Serve: 1
Sweet cotton candy flavor gives a light and soft dessert with a pastel look. Creamy base keeps it smooth and easy to enjoy. It may seem hard to bring candy flavor into ice cream, yet it’s actually very simple with syrup and steady mixing.
Ingredients
- 1/2 cup heavy cream
- 2 tbsp milk
- 2 tbsp sugar
- 2 tbsp cotton candy syrup
- Pinch of salt
Instructions
Take a clean mug and add heavy cream. Stir slowly for about one minute until it thickens slightly. Keep the motion soft so the texture stays smooth.
Add milk and mix again. This helps keep the ice cream soft after freezing. Add sugar and stir until it fully dissolves into the mixture.
Now pour in cotton candy syrup. Stir slowly at first so it blends evenly. Then mix faster for about two minutes until the color looks light pink and smooth.
Add a pinch of salt and stir again. This small step helps balance the sweetness and makes the flavor cleaner.
Check the texture. It should look creamy and slightly thick. Cover the mug with plastic wrap or a lid. Place it in the freezer.
After one hour, take it out and stir gently. This helps prevent ice crystals and keeps the texture smooth. Return it to the freezer for another hour.
Once ready, remove and let it sit for two minutes. Serve straight from the mug. Add extra cotton candy on top for a soft finish.
20. Birthday Cake Mug Ice Cream
Prep Time: 5 mins | Churn Time: 2 hours freeze | Serve: 1
Birthday cake flavor brings a sweet vanilla base with colorful sprinkles. Soft and creamy texture makes it feel like a celebration in a mug. It may seem tricky to match cake flavor at home, yet it’s actually very simple with cake mix and careful mixing.
Ingredients
- 1/2 cup heavy cream
- 2 tbsp milk
- 2 tbsp sugar
- 2 tbsp dry vanilla cake mix
- 1 tbsp sprinkles
- 1/4 tsp vanilla extract
Instructions
Start with a clean mug. Add heavy cream and stir gently for about one minute until it thickens slightly. Keep the motion slow to maintain a smooth texture.
Pour in milk and mix again. This helps keep the ice cream soft after freezing. Add sugar and stir until it fully dissolves into the mixture.
Now add dry cake mix. Stir slowly at first to avoid lumps. Then mix faster for about two minutes until the texture looks smooth and creamy.
Add vanilla extract and stir again for one minute. This brings a soft cake-like flavor into the base.
Now add sprinkles. Stir gently so they spread evenly. Do not overmix, as sprinkles should stay visible for color.
Check the texture. It should look creamy and slightly thick. Cover the mug with plastic wrap or a lid. Place it in the freezer.
After one hour, take it out and stir gently. This step helps prevent ice crystals and keeps the texture smooth. Return it to the freezer for another hour.
Once ready, remove and let it sit for two minutes. Serve straight from the mug. Extra sprinkles on top make it more colorful.
21. Marshmallow Swirl Mug Ice Cream
Prep Time: 5 mins | Churn Time: 2 hours freeze | Serve: 1
Soft marshmallow swirl brings a creamy, sweet texture with a light fluffy feel. Each spoon gives smooth ice cream with sweet ribbons. It may seem hard to create swirl effect in a mug, yet it’s actually very simple with slow folding and gentle mixing.
Ingredients
- 1/2 cup heavy cream
- 2 tbsp milk
- 2 tbsp sugar
- 2 tbsp marshmallow cream
- 1/4 tsp vanilla extract
Instructions
Take a clean mug and add heavy cream. Stir slowly for about one minute until it thickens slightly. Keep the motion gentle so the cream stays smooth.
Add milk and mix again. This helps keep the ice cream soft after freezing. Add sugar and stir until it fully dissolves into the mixture.
Now add vanilla extract and stir for one minute. This builds a soft sweet base that blends well with marshmallow.
Take marshmallow cream and add it slowly into the mug. Do not mix fully at first. Use a spoon to create light swirls instead of full blending. This keeps a ribbon effect inside the mixture.
After gentle swirling, give one slow final mix so the marshmallow spreads lightly but not completely dissolved. The texture should look creamy with visible streaks.
Cover the mug with plastic wrap or a lid. Place it in the freezer on a flat surface.
After one hour, remove the mug and stir gently once. This helps prevent ice crystals while keeping swirl texture.
Return to the freezer for another hour. Once ready, take it out and let it sit for two minutes. Serve straight from the mug. Extra marshmallow on top adds a soft finish.
22. Bubblegum Flavor Mug Ice Cream
Prep Time: 5 mins | Churn Time: 2 hours freeze | Serve: 1
Bubblegum flavor gives a sweet candy-style taste with a light creamy base. Bright color and smooth texture make it playful. It may seem tricky to get candy flavor right, yet it’s actually very simple with syrup and careful mixing.
Ingredients
- 1/2 cup heavy cream
- 2 tbsp milk
- 2 tbsp sugar
- 2 tbsp bubblegum syrup
- Pinch of salt
Instructions
Start with a clean mug. Add heavy cream and stir slowly for about one minute until it thickens slightly. Keep the motion smooth for best texture.
Pour in milk and mix again. This helps keep the ice cream soft after freezing. Add sugar and stir until it fully dissolves into the mixture.
Now add bubblegum syrup. Stir slowly at first so it blends evenly. Then mix faster for about two minutes until the color turns bright pink and smooth.
Add a pinch of salt and stir again. This small step helps balance sweetness and improves overall flavor.
Check the texture. It should look creamy and slightly thick. Cover the mug with plastic wrap or a lid and place it in the freezer.
After one hour, take it out and stir gently. This helps break ice crystals and keeps the texture smooth. Return it to the freezer for another hour.
Once ready, remove and let it sit for two minutes. Serve straight from the mug. Add candy pieces on top for extra fun texture.
23. Vegan Coconut Milk Mug Ice Cream
Prep Time: 5 mins | Churn Time: 2 hours freeze | Serve: 1
Creamy coconut milk creates a rich dairy-free dessert with a soft tropical taste. Smooth texture makes it easy to enjoy in every spoon. It may seem hard to get creamy results without dairy, yet it’s actually very simple with full-fat coconut milk and steady mixing.
Ingredients
- 1/2 cup full-fat coconut milk
- 2 tbsp sugar
- 1/4 tsp vanilla extract
- Pinch of salt
Instructions
Take a clean mug and pour in the coconut milk. Stir slowly for about one minute until it looks smooth and slightly thick. Keep mixing gentle for best texture.
Add sugar and stir well until it fully dissolves. This step is important for a smooth finish after freezing.
Pour in vanilla extract and mix again for one minute. This adds a soft sweet flavor that blends well with coconut.
Add a small pinch of salt. Stir again so the flavor becomes balanced and not too sweet.
Check the mixture. It should look creamy and even. Cover the mug with plastic wrap or a lid and place it in the freezer.
After one hour, take it out and stir gently. This helps stop ice crystals from forming and keeps the texture smooth. Return it to the freezer for another hour.
Once fully frozen, remove and let it sit for two minutes before serving. Enjoy straight from the mug. A sprinkle of shredded coconut on top adds extra texture and flavor.
24. Sugar-Free Mug Ice Cream
Prep Time: 5 mins | Churn Time: 2 hours freeze | Serve: 1
Sugar-free mug ice cream gives a light dessert option with smooth creaminess. Natural sweetness keeps it simple and easy. It may seem hard to make ice cream without sugar, yet it’s actually very simple with natural sweeteners and careful mixing.
Ingredients
- 1/2 cup heavy cream
- 2 tbsp milk
- 2 tbsp sugar substitute (stevia or erythritol)
- 1/4 tsp vanilla extract
- Pinch of salt
Instructions
Start with a clean mug. Add heavy cream and stir slowly for about one minute until it thickens slightly. Keep motion steady for a smooth base.
Add milk and mix again. This helps keep the texture soft after freezing. Add sugar substitute and stir until it fully dissolves into the mixture.
Pour in vanilla extract and stir for one minute. This adds soft sweetness and balances flavor. Add a pinch of salt and stir again. This helps round out the taste and avoids flat flavor.
Check the texture. It should look creamy and smooth. Cover the mug and place it in the freezer.
After one hour, remove and stir gently. This step helps prevent ice crystals and keeps texture soft. Return it to the freezer for another hour. Once ready, remove and let it rest for two minutes. Serve straight from the mug.
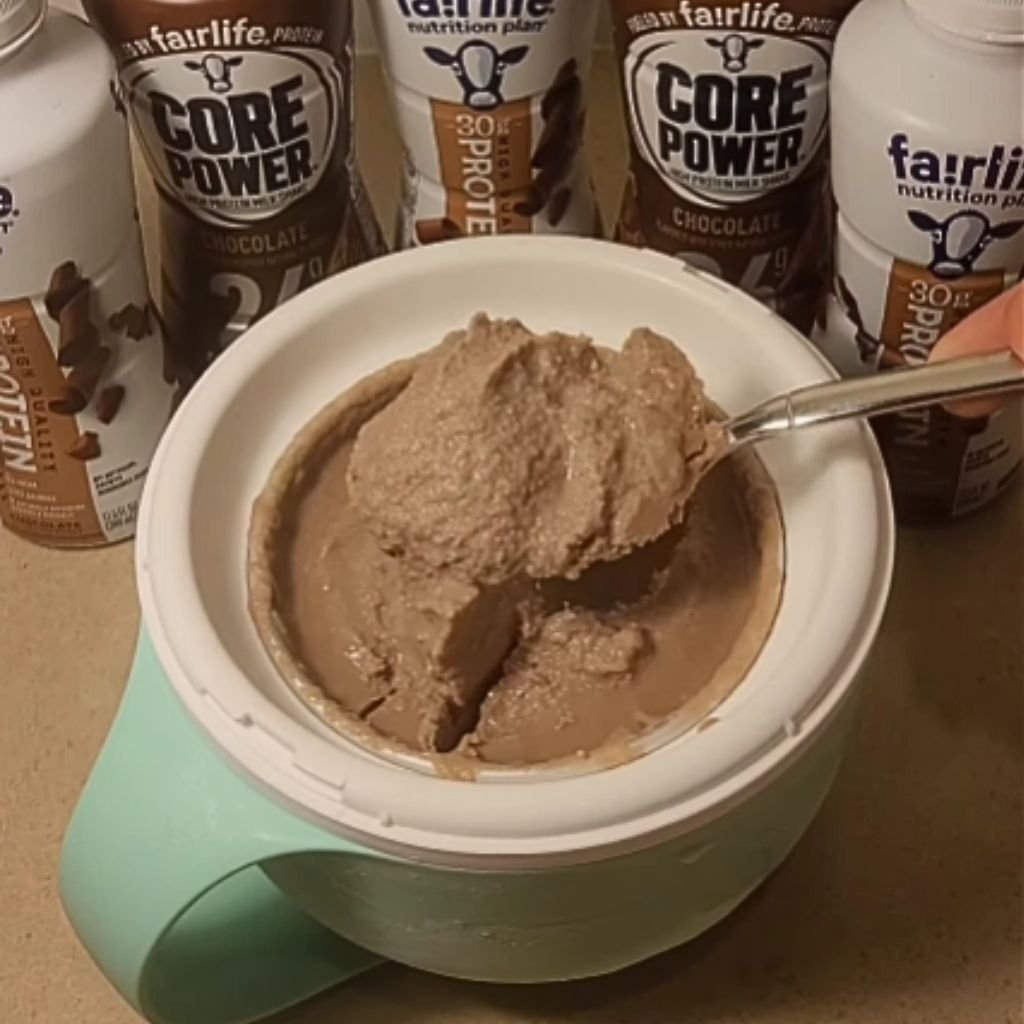
25. High-Protein Mug Ice Cream
Prep Time: 5 mins | Churn Time: 2 hours freeze | Serve: 1
High-protein mug ice cream brings a creamy dessert with extra nutrition. Smooth texture and rich flavor make it a smart sweet option. It may seem hard to get creamy ice cream with protein mix, yet it’s actually very simple with proper blending and steady mixing.
Ingredients
- 1/2 cup Greek yogurt
- 2 tbsp milk
- 1 scoop vanilla protein powder
- 1 tbsp honey
- 1/4 tsp vanilla extract
Instructions
Take a clean mug and add Greek yogurt. Stir slowly for about one minute until it becomes smooth and creamy. Keep mixing gentle so texture stays soft.
Add milk and mix again. This helps loosen the mixture and makes it easier to freeze into a smooth dessert.
Now add protein powder. Stir slowly at first to avoid lumps. Once it starts blending, mix faster for about two minutes until the texture becomes smooth and thick.
Pour in honey and stir again. This gives natural sweetness and helps balance the protein taste.
Add vanilla extract and mix for one more minute. The mixture should look creamy with an even texture.
Check consistency. It should be thick but smooth. Cover the mug with plastic wrap or a lid and place it in the freezer.
After one hour, remove the mug and stir gently. This helps keep ice crystals away and improves texture. Return it to the freezer for another hour.
Once fully frozen, take it out and let it sit for two minutes before serving. Enjoy straight from the mug for a rich, protein-packed dessert.
Serving & Presentation Ideas
Mug ice cream becomes more exciting with simple serving ideas that make each cup look special and taste better.
1. Toppings Add Extra Flavor: Sprinkles, chocolate syrup, honey drizzle, chopped nuts, and fresh fruits bring color and taste to every mug.
2. Layered Mug Desserts: Alternate ice cream with crushed cookies, fruit pieces, or cake crumbs for a beautiful layered look inside the mug.
3. Serving for Guests: Small mugs with different flavors work well for gatherings. Arrange them in a tray for a colorful dessert table.
Conclusion
Dash My Mug Ice-cream Recipes bring a simple way to enjoy homemade ice cream without stress or special tools. Each flavor gives a new taste, from fruity blends to rich chocolate and nutty styles. Small portions make it easy to try many versions without waste.
Creativity matters here, so mixing different flavors and toppings brings new results every time. A favorite mug flavor can turn into a regular treat at home with very little effort. Try any recipe today and enjoy a quick homemade dessert in minutes.